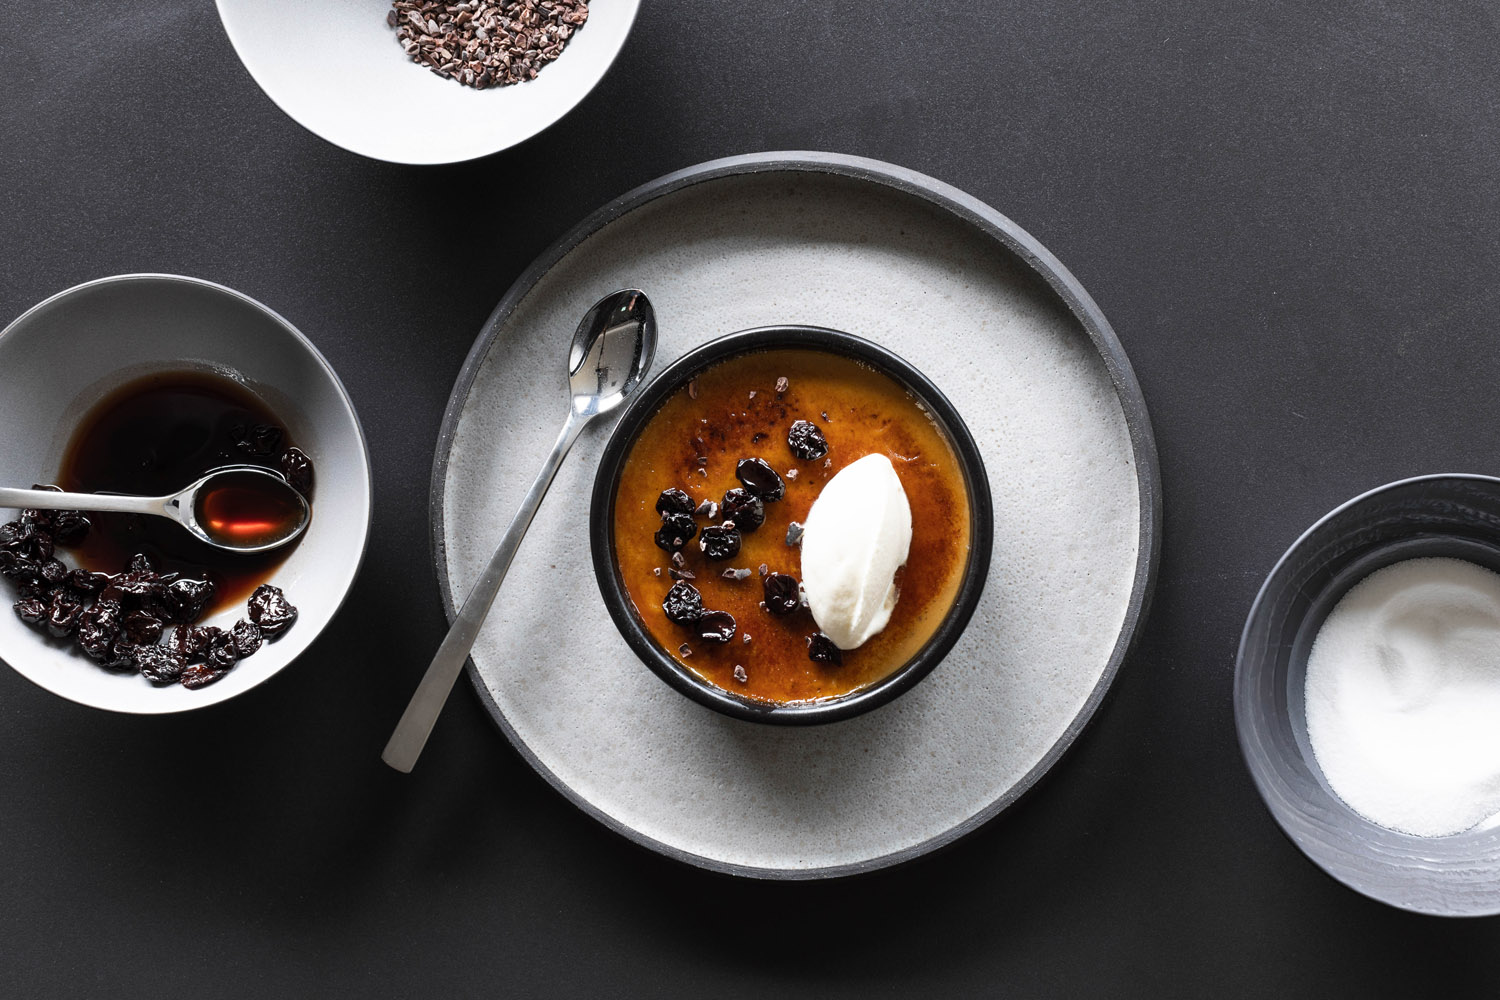
Florets’ 10 Commandments for Making Bread
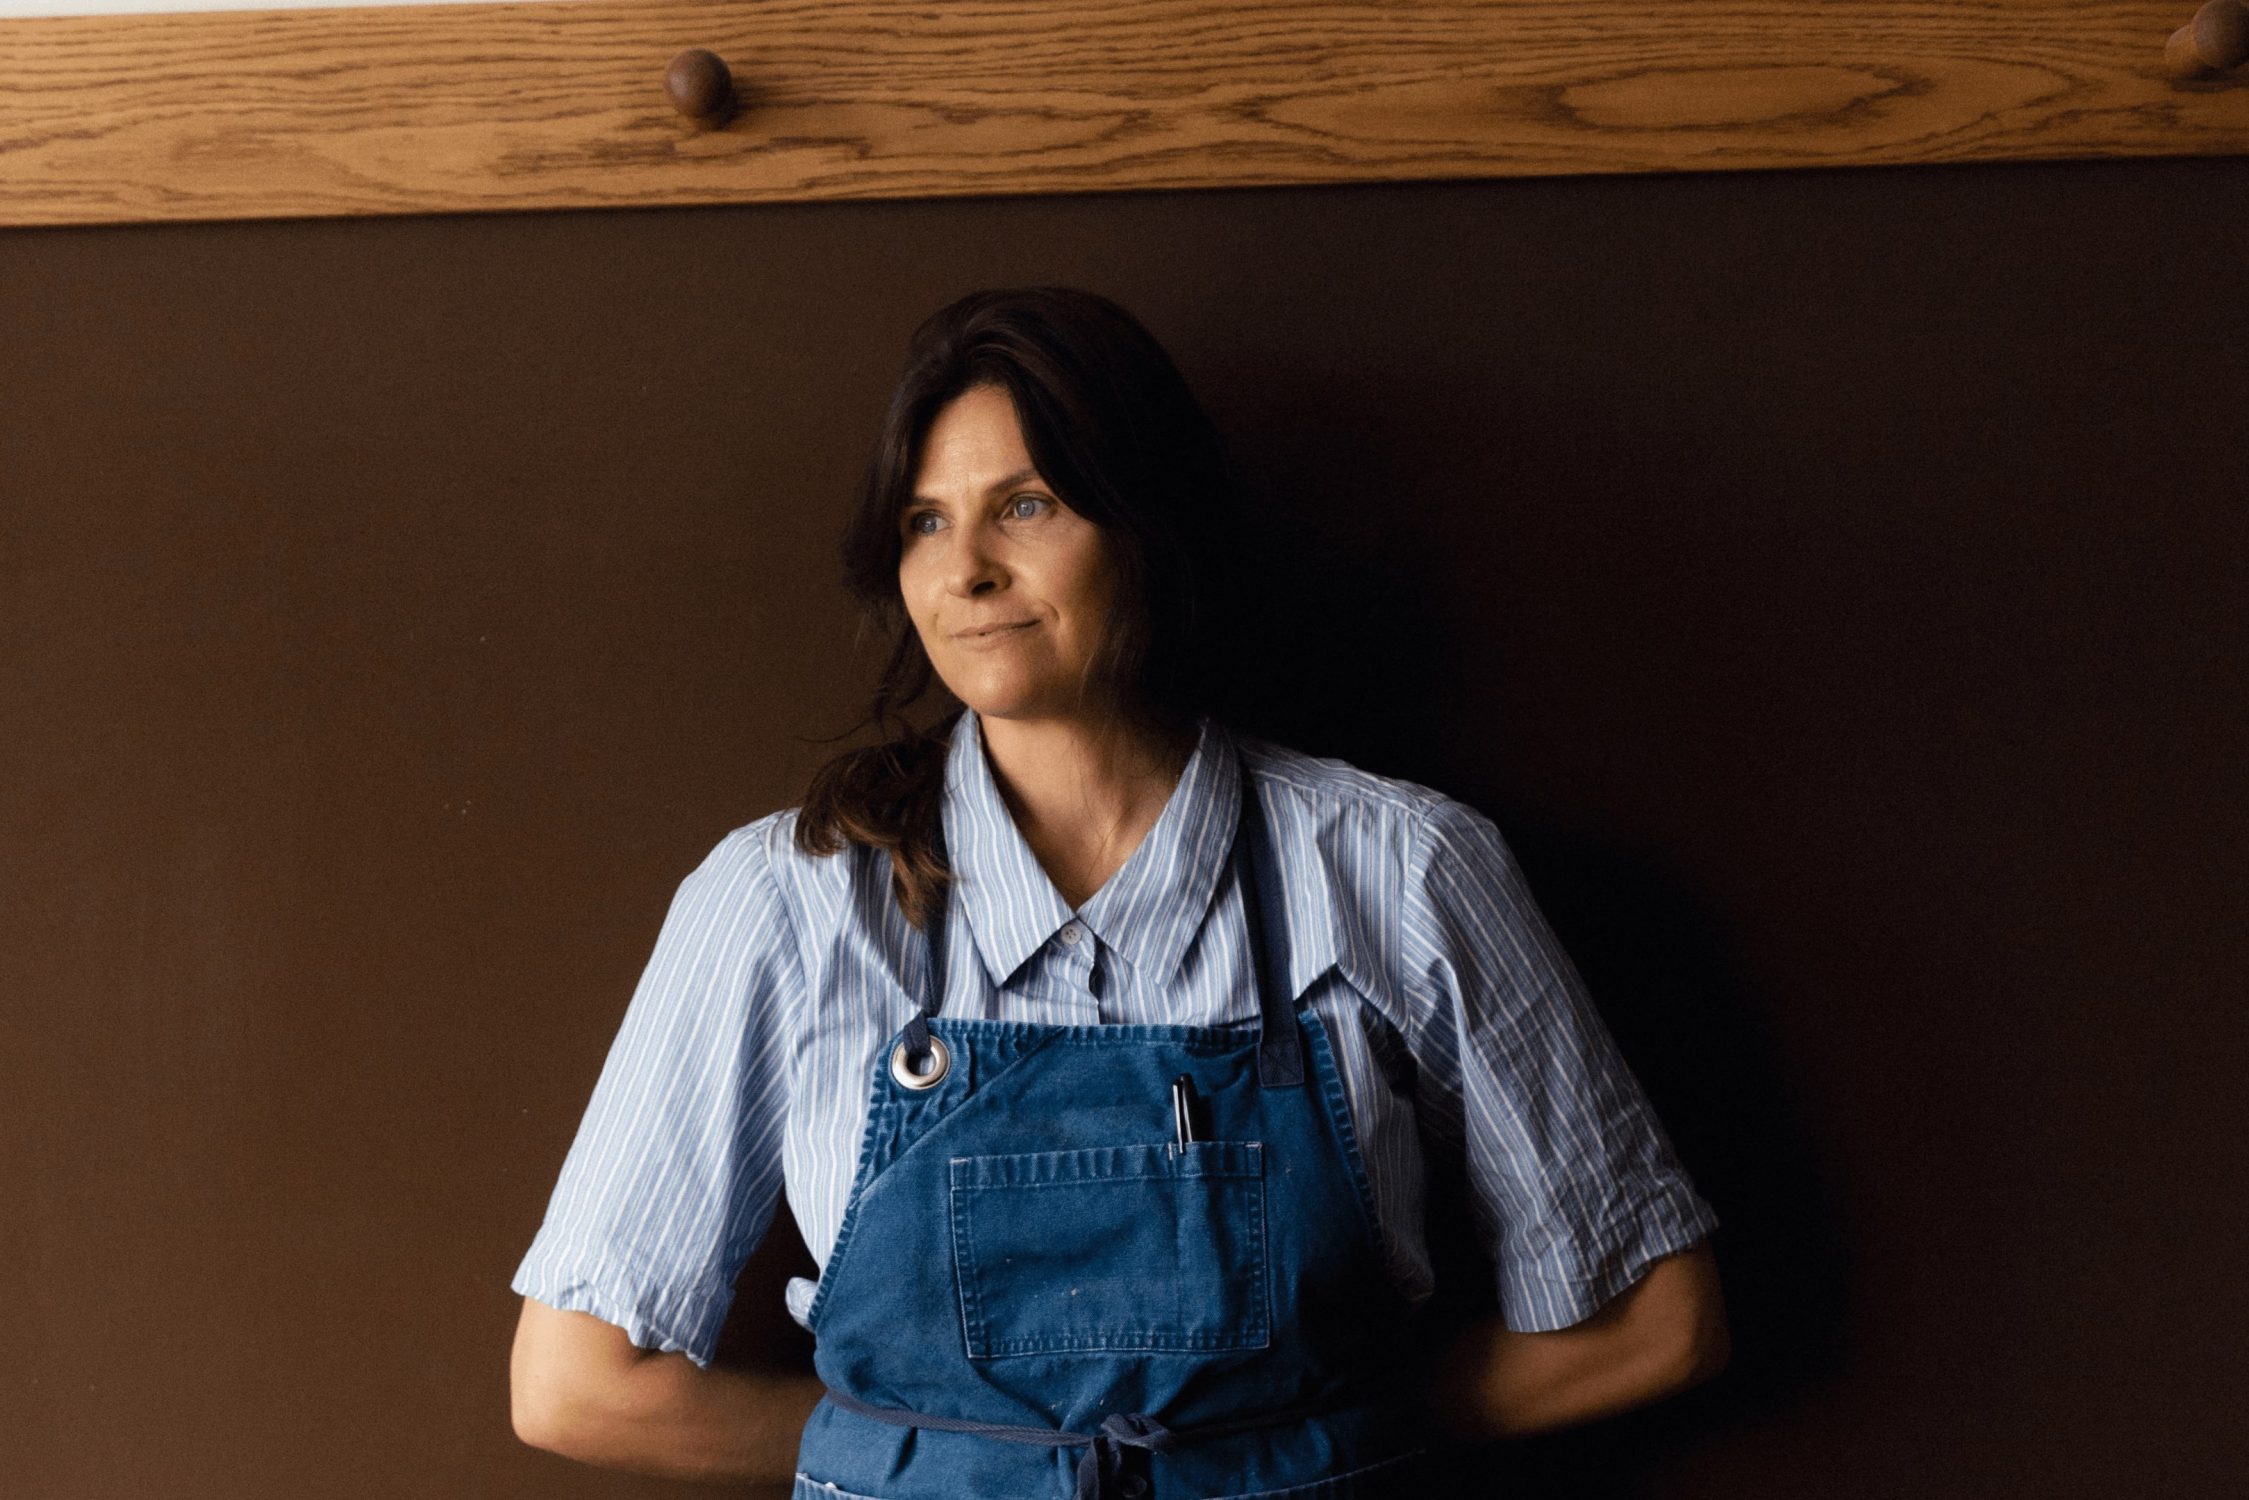
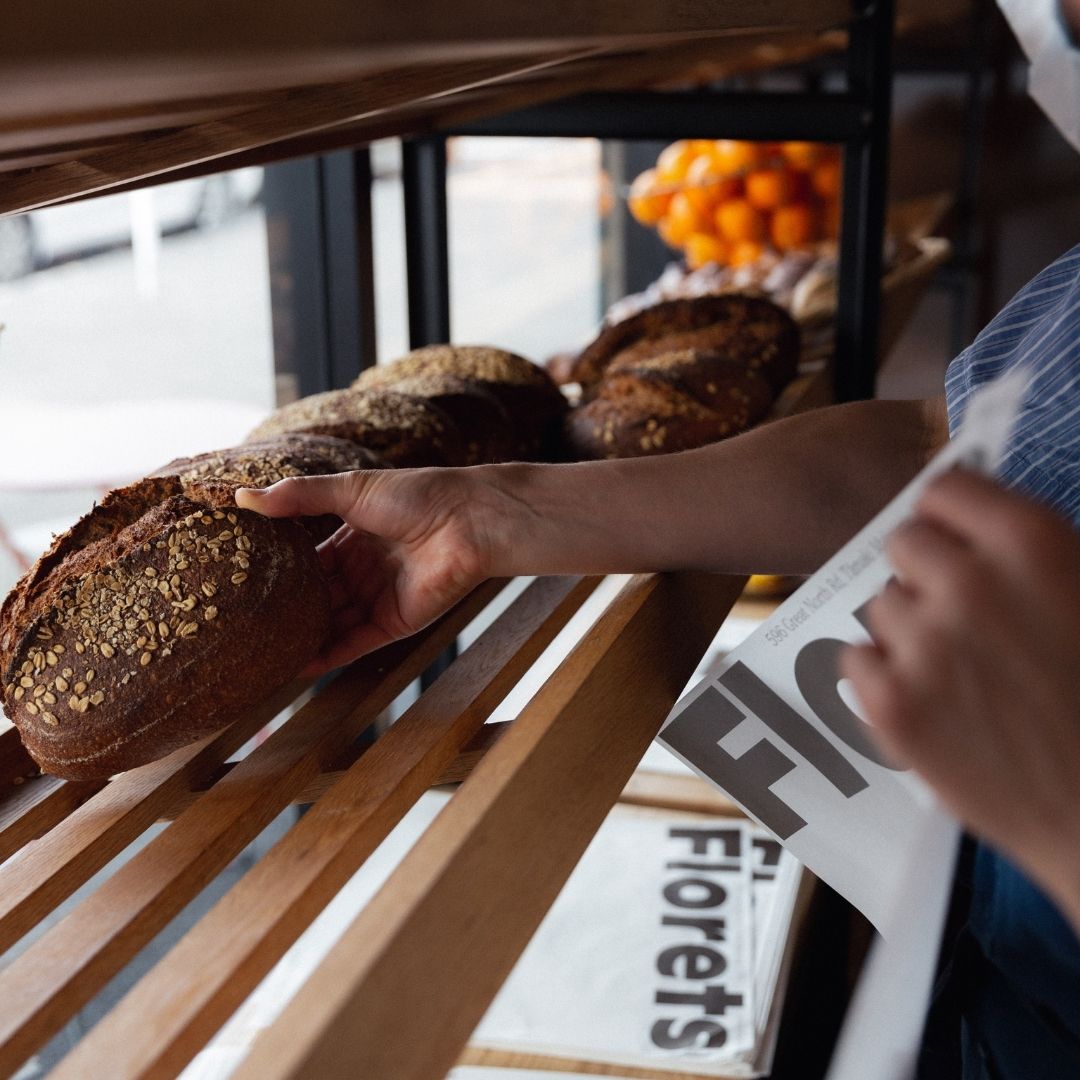
Florets focuses on the craft of slow sourdough fermentation, using locally grown whole grain flour. Expert baker Maya Handley bakes the type of bread she loves making at home, that lasts well for the week and nourishes the family. The Florets process aims to bring out the beautiful flavour of organic Canterbury-grown grain, and to bake bread that’s easier to digest.
Maya first taught herself sourdough bread making from Jeffrey Hamelman’s book Bread, but a weekend workshop with Sarah Owens in Far Rockaway, New York, really motivated her to gain a deeper understanding of the grain she was using and the nutritional value of what she was making. She then went on to study artisan bread making with chef Johnson Yu at the International Culinary Centre in NYC.

Here, Maya shares her 10 commandments for making sourdough bread.
- Stick with one dough formula when you first start out. Figuring out when dough is ready to move onto the next stage of development, and ultimately when it’s properly proofed and ready to bake, can be difficult. Each dough has a slightly different feel to it, so jumping between formulas early on can make this extra challenging.
- Feed your starter. It’s frustrating trying to leaven a loaf without a lively, active starter. You can tell when your starter is ready to use if it easily floats in a glass of water. This means there is enough CO2 to leaven your loaf.
- Not all flour is created equal. For flavour, hydration, and nutrition, Florets bakes all of its loaves with 100% whole grain flour. This means they can harness all the fibre, mineral and vitamin potential within the grain. But if you want a lighter, whiter loaf, choose a sifted flour, where the bran or some of the bran is sifted out, but the grain’s germ remains. The germ holds the mineral and vitamin content of the grain. It’s often removed in flour to extend its shelf life.
- Think about how your flour is grown and stored. Florets uses organically grown flour, where no chemicals are used in growing and storing the grain.
- Choose a stone milled flour where possible. This low temperature, small batch way of milling helps maintain the nutritional value of flour in its original proportions.
- Autolyse. This is a resting period of approximately 20-40 minutes where the combined flour and water starts to build gluten structure. This is a very helpful step to gently develop structure within dough.
- Take it easy on the mixing. Over mixing dough will reduce your loaf’s flavour. At home, you can easily develop gluten within your dough with a few sets of stretching and folding in a bowl every 30 minutes or so during bulk fermentation. There’s no need to slap or knead bread to get the structure.
- Divide and pre-shape. This will give you evenly sized loaves and start bringing the dough into its final shape.
- Shape and retard your dough. Shaping will give your loaf the final form and structure you want. Retarding in the fridge overnight will bring out more acidity in your loaf and also help develop that lovely chewy sourdough texture. It slows down and extends fermentation, allowing time for additional sugars within the grain to be digested by the wild yeast and further break the gluten down to amino acids. It’s also a useful tool in scheduling bread making, so you can wake up and bake a loaf in the morning. Your dough will be ready to bake when you gently press it with your finger and the dough slowly bounces back. If there is no bounce back, it’s likely over proofed. If it springs back very quickly, you can likely leave it a little longer to fully proof before baking.
- Score your loaf to control how it expands, then bake with steam. Steam allows the crust to stay soft for the first third or half of the bake, enabling your loaf to rise to its full potential before the crust starts to harden off. Remove the steam for the second part of the bake to form a nice thin crispy crust.